 COCHIE
How to host a family paint afternoon at home
A quiet afternoon around the kitchen table with brushes and unfinished wood blanks lets everyone make something they can keep. We sketch these shapes in our studio so you can settle in with your family and enjoy the painting process.
Preparing the table for painting
Cover the work surface with brown butcher paper or flat cardboard boxes from your recycle bin. Tape the edges down with painter tape so the paper stays flat when hands brush across it. Set out wide water cups, paper towels, and divided plastic plates to hold small pools of paint.
Give each painter two brushes, one wide flat brush for larger background areas and one small round brush for little corners. Keep a damp rag nearby so young painters can wipe their fingers before touching the finished wood pieces or reaching for more supplies.
Thinning paint for smooth coats
Heavy acrylic craft paint can drag across raw wood and leave thick ridges that take hours to dry. Stir a few drops of tap water into each paint puddle on the palette plate until the mixture flows like heavy cream. Thin paint spreads smoothly and fills the wood grain without pooling.
Encourage children to paint two thin coats instead of one heavy layer. Thin layers dry within ten minutes in a warm room, which means painters can add dots, stripes, or second colors over the base coat without muddying the shade underneath.
Using laser lines for guidance
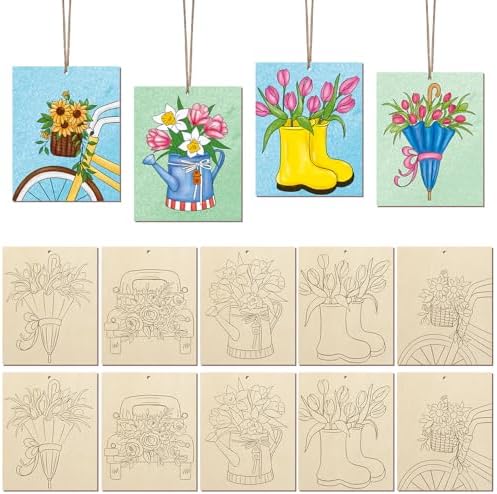
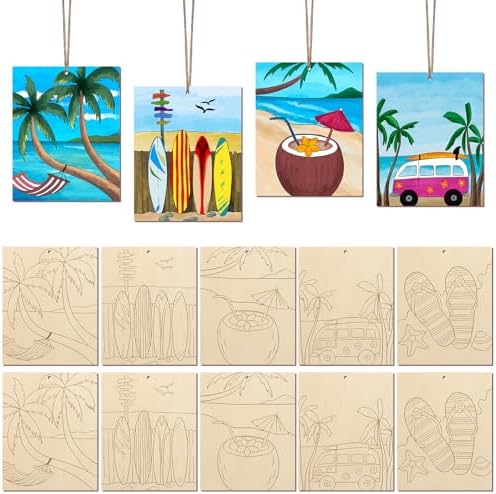
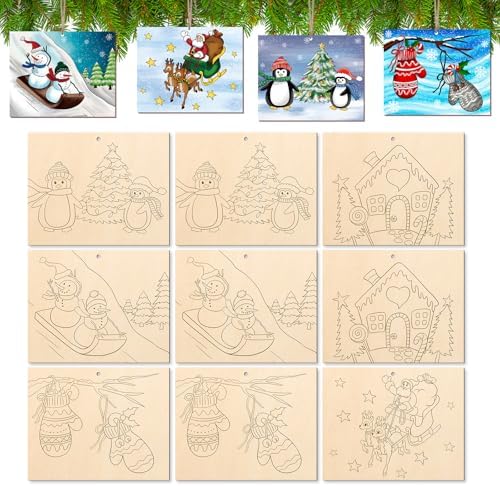
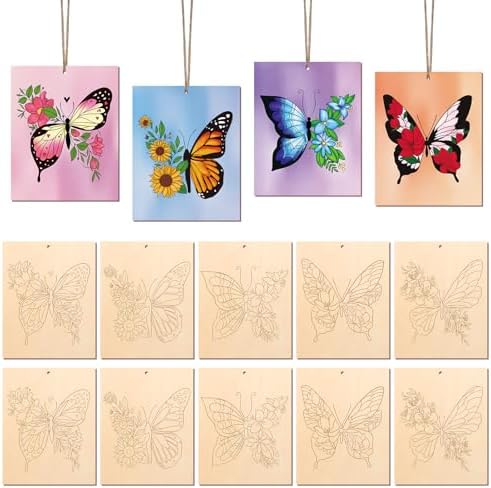
Our studio burns light outlines directly onto each unfinished plywood shape to mark eyes, flower petals, and holiday details. These dark grooves act like coloring book borders that keep paint colors from bleeding into neighboring sections.
Beginners can fill large background spaces first without worrying about ruining the smaller details. Once the main shape has color, fine brushes can easily follow the etched lines to add contrast colors, lettering, or facial expressions with steady hands.
Drying and sealing the finished shapes
Move wet wood cutouts to a wire baking rack or a sheet of wax paper away from the main painting table. Let the shapes rest for an hour until the surface feels dry and chalky to the touch before handling them.
A quick coat of water based clear matte sealer applied with a foam sponge brush protects the painted surface from dust and sticky fingers. Let the sealed wood sit overnight on the counter before gluing magnets, twine, or ribbon to the back.
Displaying painted wood around the house
Tuck smaller painted shapes into the open pockets of a kitchen tiered tray alongside ceramic mugs and folded cloth napkins. The light wood backs stand upright when rested against larger bowls or small picture stands.
Glue a loop of jute twine to the top edge to create a gift topper for brown paper packages, or set flat shapes along a bookshelf ledge. These painted pieces add handmade color to entryway tables and classroom desks throughout the season.
Worth keeping in mind
- Stir four drops of water into thick paint to help it glide across raw plywood surfaces.
- Burned outline grooves keep wet colors separated and guide small hands as they paint fine details.
- Dry painted shapes on a wire baking rack so air reaches both the front and back.
- Add adhesive magnetic strips to the unpainted back of small wood cutouts for the refrigerator door.
Clear the kitchen table, fill a few jars with water, and enjoy making memories with your family. We love seeing how a simple wood shape brings warmth and personal color to your seasonal shelves and tiered trays.